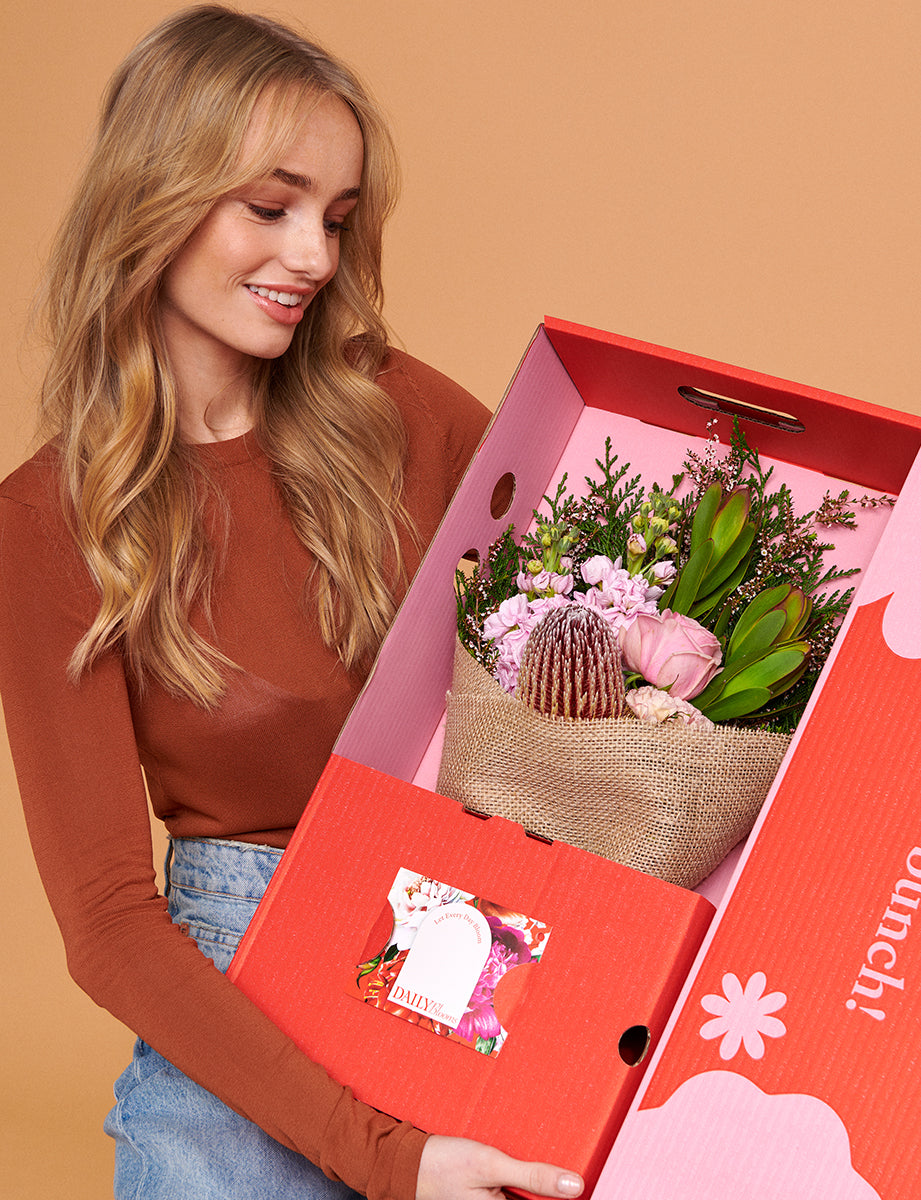
Ever unwrapped your Daily Blooms bouquet and wondered ‘Do I cut the string off?’ or ‘How will I fit them in my favourite vase?’
In this latest blog post we show you three different ways to style our signature blooms. Plus, we’ll run you through some basic styling tips & tricks to get you arranging blooms like a pro.

Our qualified florists have arranged your bouquet so that there is a perfect balance of blooms and foliage. Each bloom is placed with purpose and bouquets are tied off tightly to keep them in place.
 Materials:
We’re using a Blushing bouquet and the Marmoset Found Tulip Vase for this simple style. Perfect for those that like a little less fuss.
Step 1: Unwrap your Blooms from your compostable hessian wrapping & biodegradable wet wrapping.
Step 2: On a 45-degree angle, give the stems a fresh trim.
Step 3: 3/4 fill your Tulip Vase with water.
Step 4: Leaving your bouquet tied up, simply drop your bouquet into the vase and voilà. Why fix what ain’t broke.

This simple style is easy to execute and super effective! Perfect trailing along the centre of a dinner party table or placed along your window sill to enjoy the morning light. 
Materials:
We’re using a few different size glass bottles. You could also use small jars (you know the ones you keep and think one day you’ll do something with them, that time is now!)
This style features our Harmony bouquet, but you could also use the Pixie if you prefer a pop of colour.
Step 1: Unwrap your Blooms from your compostable hessian wrapping & biodegradable wet wrapping.
Step 2: Collect the glass bottles or jars you’re using, ½ fill them with water.
Step 3: Cut the tie on your Harmony bouquet and separate your blooms and foliage into two piles.
Step 4: Trim down your pieces to a more usable size for your vases.
Step 5: Start by arranging your foliage into your vessels. Keep in mind variation is key, keep some pieces long and some shorter to create a more interesting design.
Step 6: Once you’re happy with your shapes, start adding in blooms, spreading them evenly across your vessels.
Step 7: Arrange your vessels in a long tailing line for a large space, or cluster them together for a smaller space.
 For those that like a little challenge, this style splits our cult classic Pixie bouquet into two small arrangements. Perfect for small spaces or as a floral statement by your front door.
 Materials:
We’re using two small metal vases, you can use any two vases you have at home. Along with a reusable metal flower frog or you can simply use a small piece of chicken wire. And most importantly, our classic Pixie bouquet.
Step 1: Unwrap your Blooms from your compostable hessian wrapping & biodegradable wet wrapping.
Step 2: Place whatever you are using to hold your blooms in place into your vases.
Step 3: ½ Fill your vases with water.
Step 4: Cut the tie on your Pixie bouquet and separate your blooms and foliage into two piles.
Step 5: Trim down your pieces to a more usable size for your vases.
Step 6: Start by arranging your foliage into your two vases into a desirable shape. Don’t be scared to let things get a little wild!
Step 7: Start adding your blooms until you have an even foliage to blooms ratio across both vases.
Step 8: Place one of your arrangements on a stack of books or a wooden block to create some height variation. Place in a walkway or entry to wow your guests and look like a styling pro!


0 comments